
Is your freezer starting to look more like an arctic cave than a kitchen appliance? If so, it might be time for a defrost. Over time, ice can build up and affect how well your freezer performs, making it less energy-efficient, harder to organise, and even putting your food at risk.
Defrosting your freezer helps it run smoothly, keeps your food safe, and can lower your electricity bills. It’s a task that should be done roughly every 6 to 12 months, depending on how often you use it.
If ice starts forming again soon after defrosting, it could be a sign of an underlying issue. In that case, it’s best to get a professional to take a look.
When Should You Defrost Your Freezer?
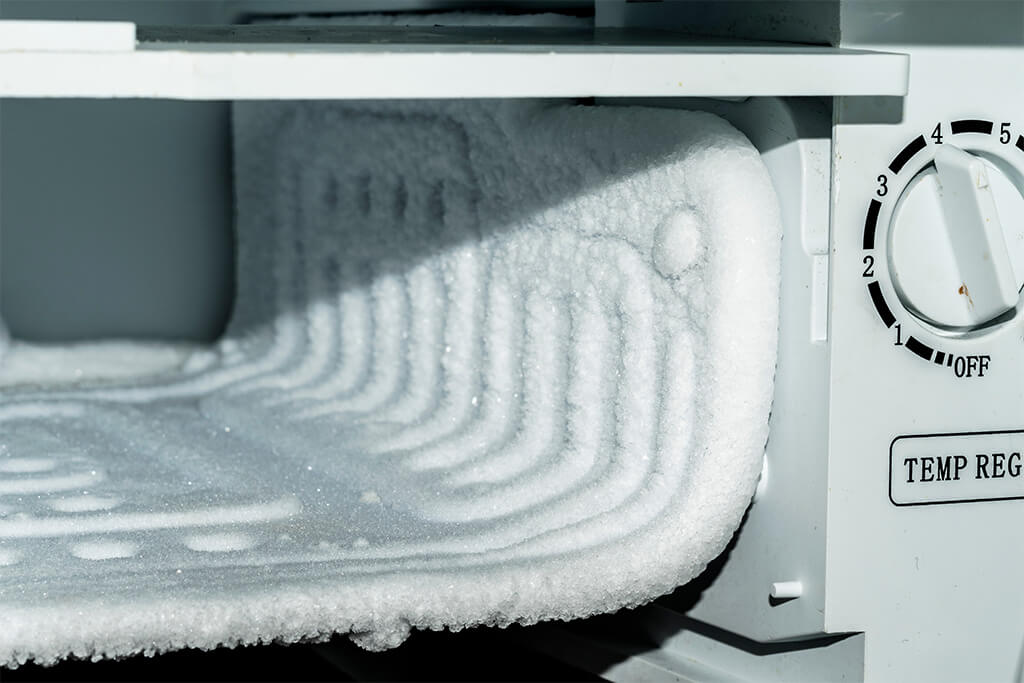
Not sure if your freezer needs defrosting? A good sign is when ice builds up more than 6mm thick. You might also notice the door no longer seals properly, or that drawers and shelves are becoming harder to remove.
Most freezers benefit from a defrost once or twice a year, but if you’re seeing these signs earlier, don’t wait! Go ahead and give it a defrost.
What you’ll need
Before you begin, gather the following items:
7 Easy Steps to Quickly Defrost Your Freezer
Step 1: Turn off and unplug the freezer
Start by switching off your freezer and unplugging it. This keeps things safe and stops it from using unnecessary energy.
Step 2: Remove all food
Take out everything from the freezer and place it in an esky or cooler. Add some ice packs if the process might take a while.
Step 3: Take out drawers and shelves
Remove any drawers or shelves to make cleaning easier and prevent damage during the defrost.
Step 4: Let the ice melt
You can let the ice melt naturally by leaving the freezer door open, or speed things up by placing bowls of hot water inside or using a hairdryer on a low setting (held at a safe distance from any water). Defrosting can take anywhere from 2 to 6 hours depending on the amount of ice and your chosen method, so plan ahead.
Step 5: Soak up water
As the ice melts, water will collect at the bottom. Use towels to soak it up, or guide it into a bowl if your freezer has a drain. Check regularly to avoid spills.
Step 6: Wipe and clean the interior
Once all the ice is gone, wipe down the inside of the freezer with a soft cloth and a mix of warm water and mild detergent or baking soda. This helps remove any residue or lingering odours.
Step 7: Plug in and restart
Dry everything thoroughly, replace the drawers, and plug the freezer back in. Let it cool to the right temperature before putting your food back.
Maintaining Your Freezer to Prevent Ice Build-up
Regular defrosting keeps your freezer running efficiently, cuts down on energy use, and helps prevent food waste, so it’s well worth adding to your seasonal maintenance checklist.
To go longer between defrosts, keep the freezer door closed as much as possible, avoid overloading it, and make sure the door seals are clean and in good condition. Also, let hot food cool completely before placing it inside. These simple habits can help prevent unnecessary ice build-up and keep your appliance running well.
If something still doesn’t seem right, don’t ignore it. A quick check by a technician could save you from bigger problems down the track.
When to Call a Professional
Defrosting your freezer should be simple, but if ice returns soon after, the appliance won’t turn back on, or the seals are cracked or no longer closing properly, it’s worth calling in an expert.
If you’re dealing with persistent ice build-up or anything unusual, the team at Melbourne Metro Refrigeration is here to help. Whether you need advice over the phone or someone to come out and take a look, we’re just a call away.